

Downloads
We recommend using the platform specific installers for an easier, automated installation process customized for Windows, MacOS, and Linux.
Other ways to use and install ACLI are linked below in the Other Downloads section.
Installers
Windows Intel: ACLI-11.3.0-amd64-installer.exe
Linux Intel: ACLI-11.3.0-amd64-installer.run
MacOS Intel: ACLI-11.3.0-amd64-installer.dmg
MacOS Apple Silicon (Mx): ACLI-11.3.0-arm64-installer.dmg
Certain Atlassian products require a connector app
After installation, if your client reports a licensing error running some actions, ask your site administrator to install the ACLI connector app for Jira, Confluence, Bitbucket Server, or Bamboo in order to use the ACLI with those Atlassian products.
Installing on Windows, MacOS, and Linux
The MacOS desktop UI is shown in the illustrations below.
Download and launch the installer for your OS (Windows, MacOS, or Linux).
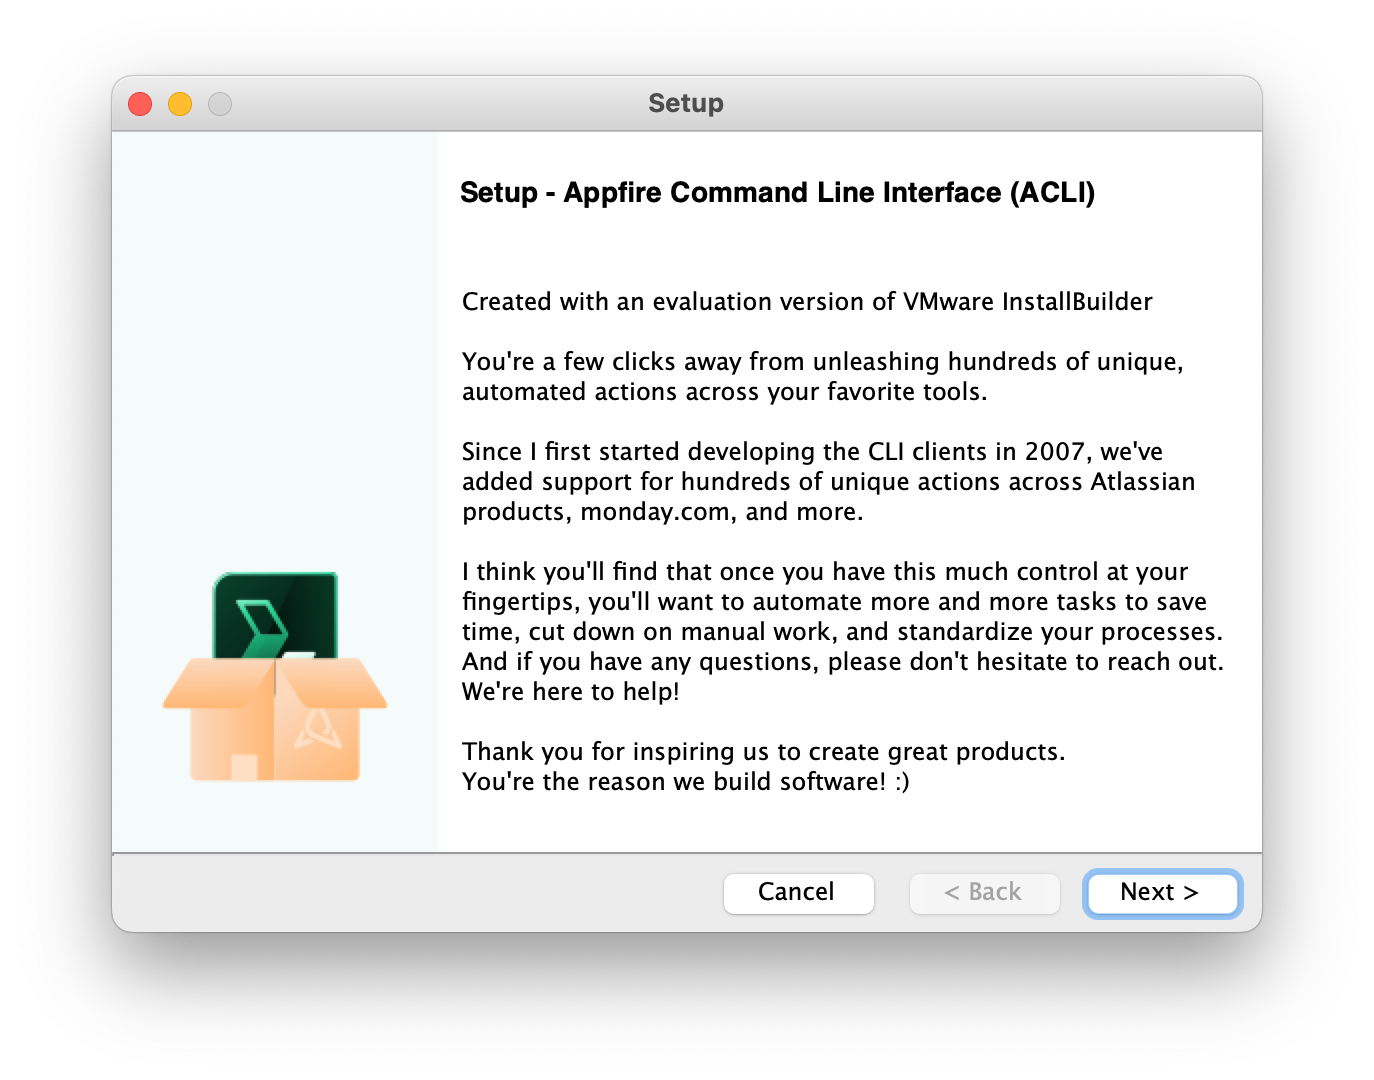
Click “Next” once you have read the welcome message from Bob Swift.
Accept the End User License Agreement (EULA) and click “Next”.
If you do not wish to accept the EULA select “I do not accept the agreement” and click “Next” or click Cancel”.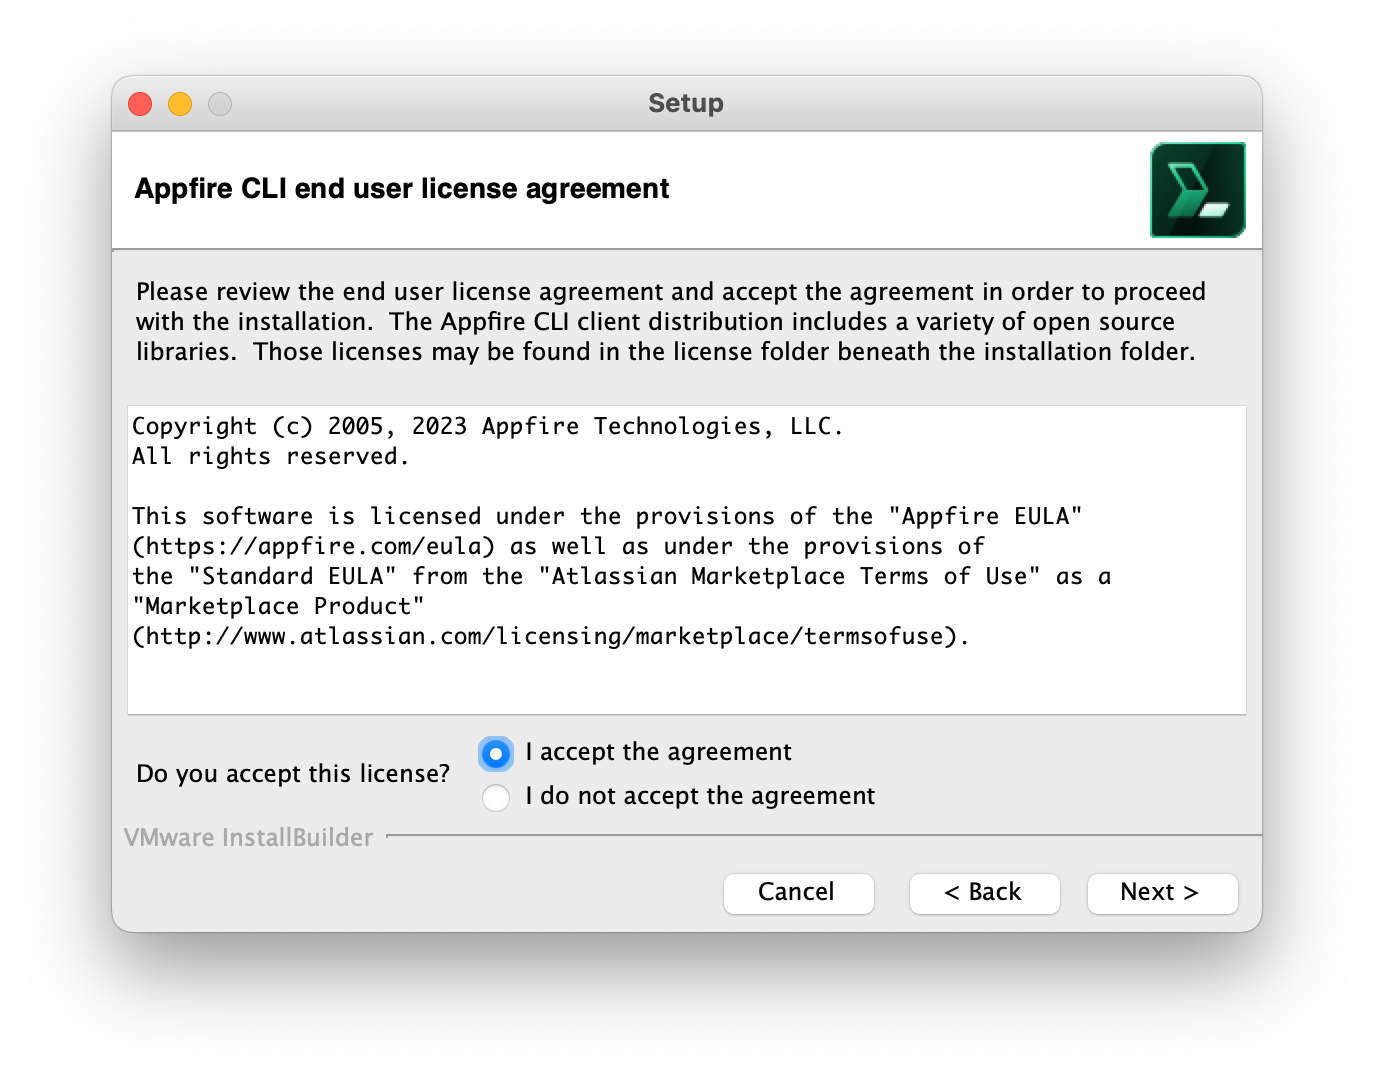
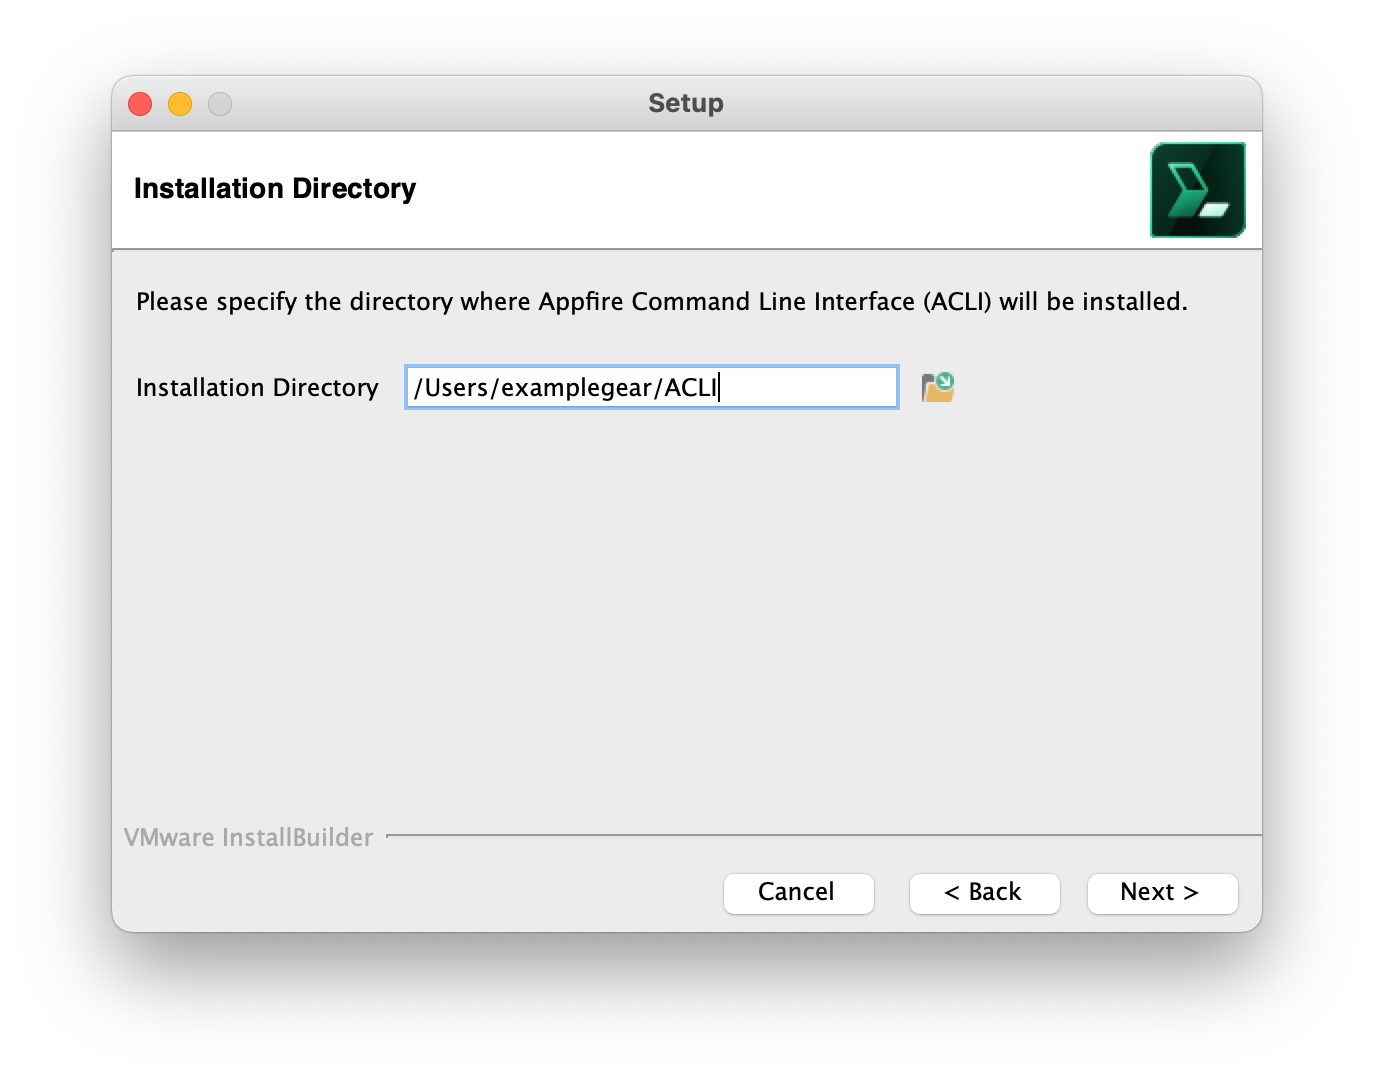
Select where you wish to install the ACLI. This defaults to the folder “ACLI” underneath your user directory.
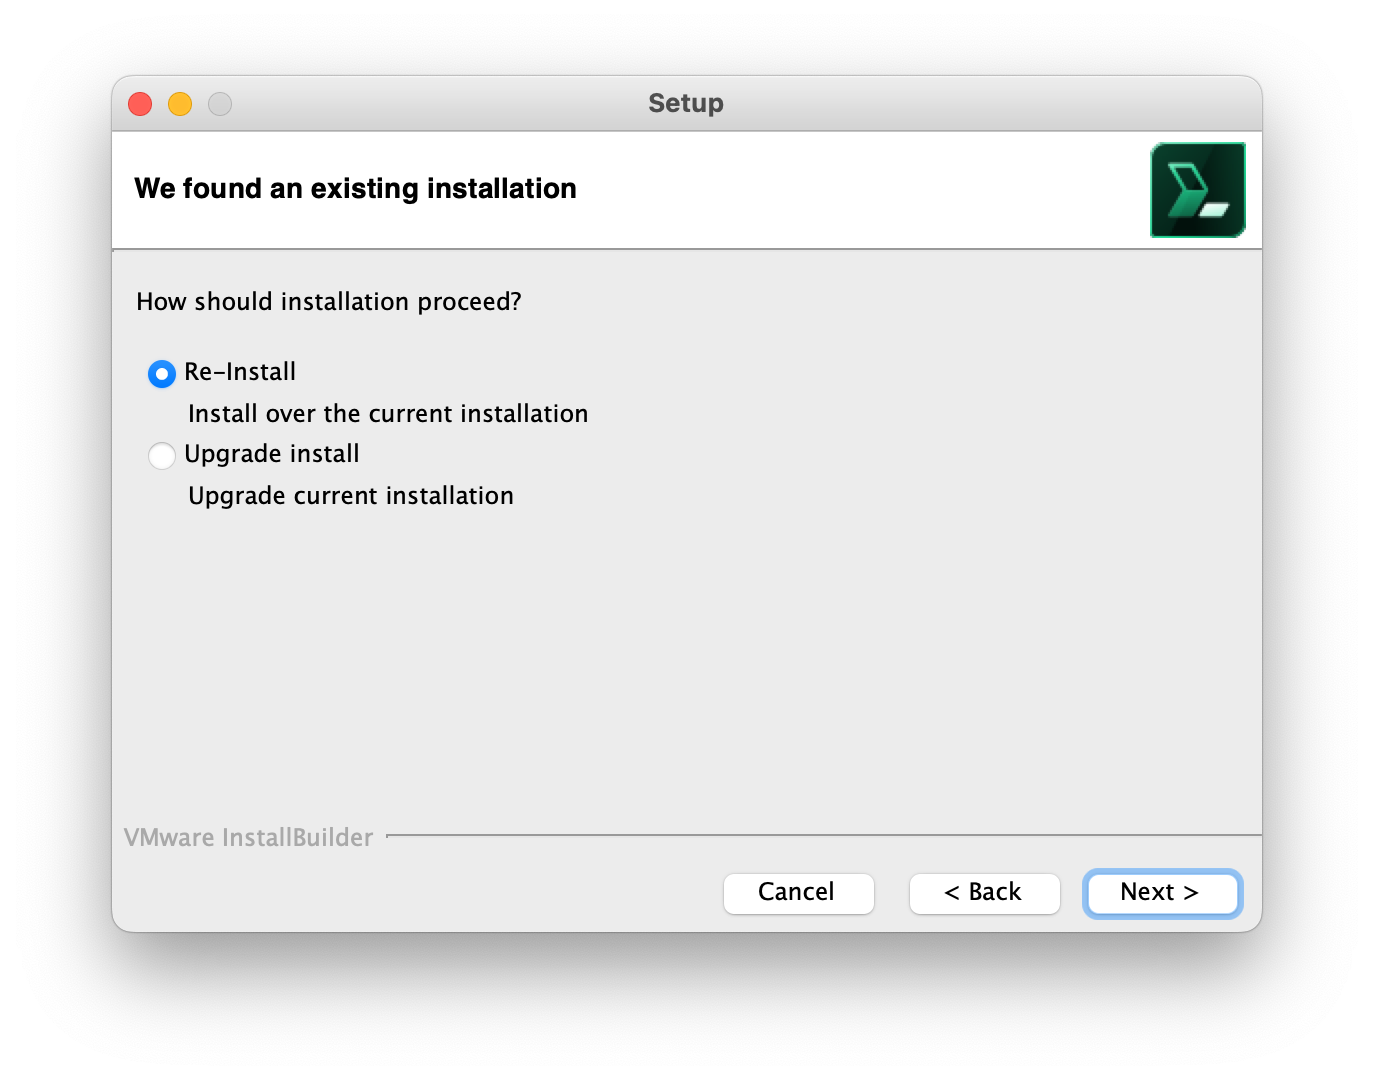
If your installation directory already contains an ACLI installation, then you will be prompted to confirm whether to overwrite it or upgrade. If you choose to overwrite, you will be given the option for the installer to first make backups of user modifiable files
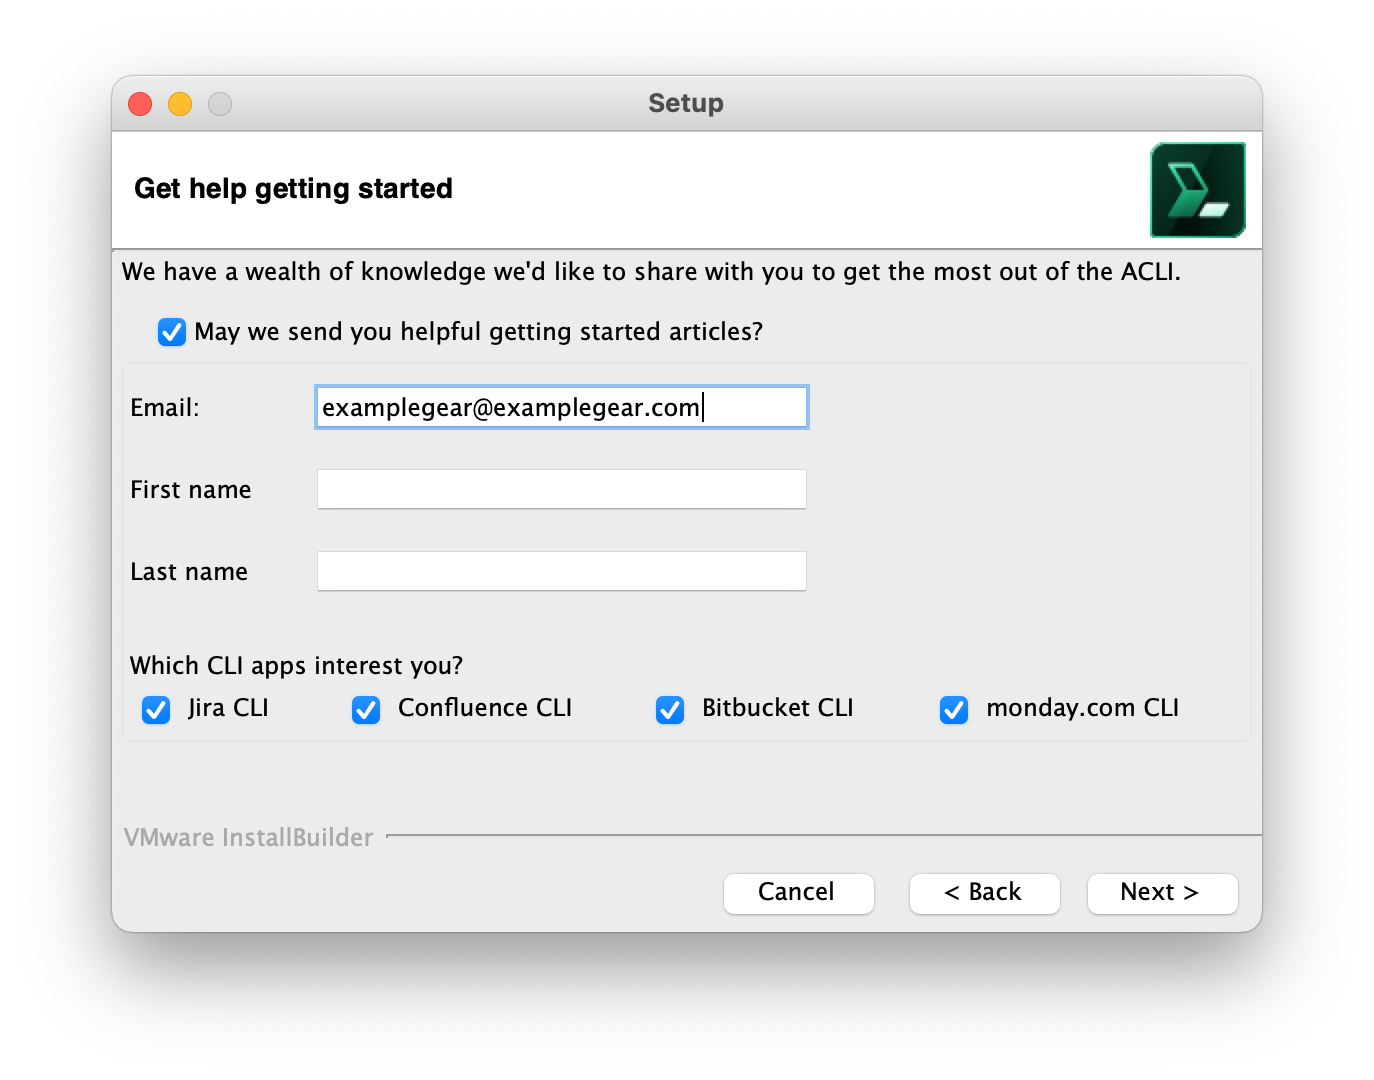
When doing a new install or re-install, you can optionally enroll in a getting started email newsletter subscription. Clear the checkbox to decline enrollment.
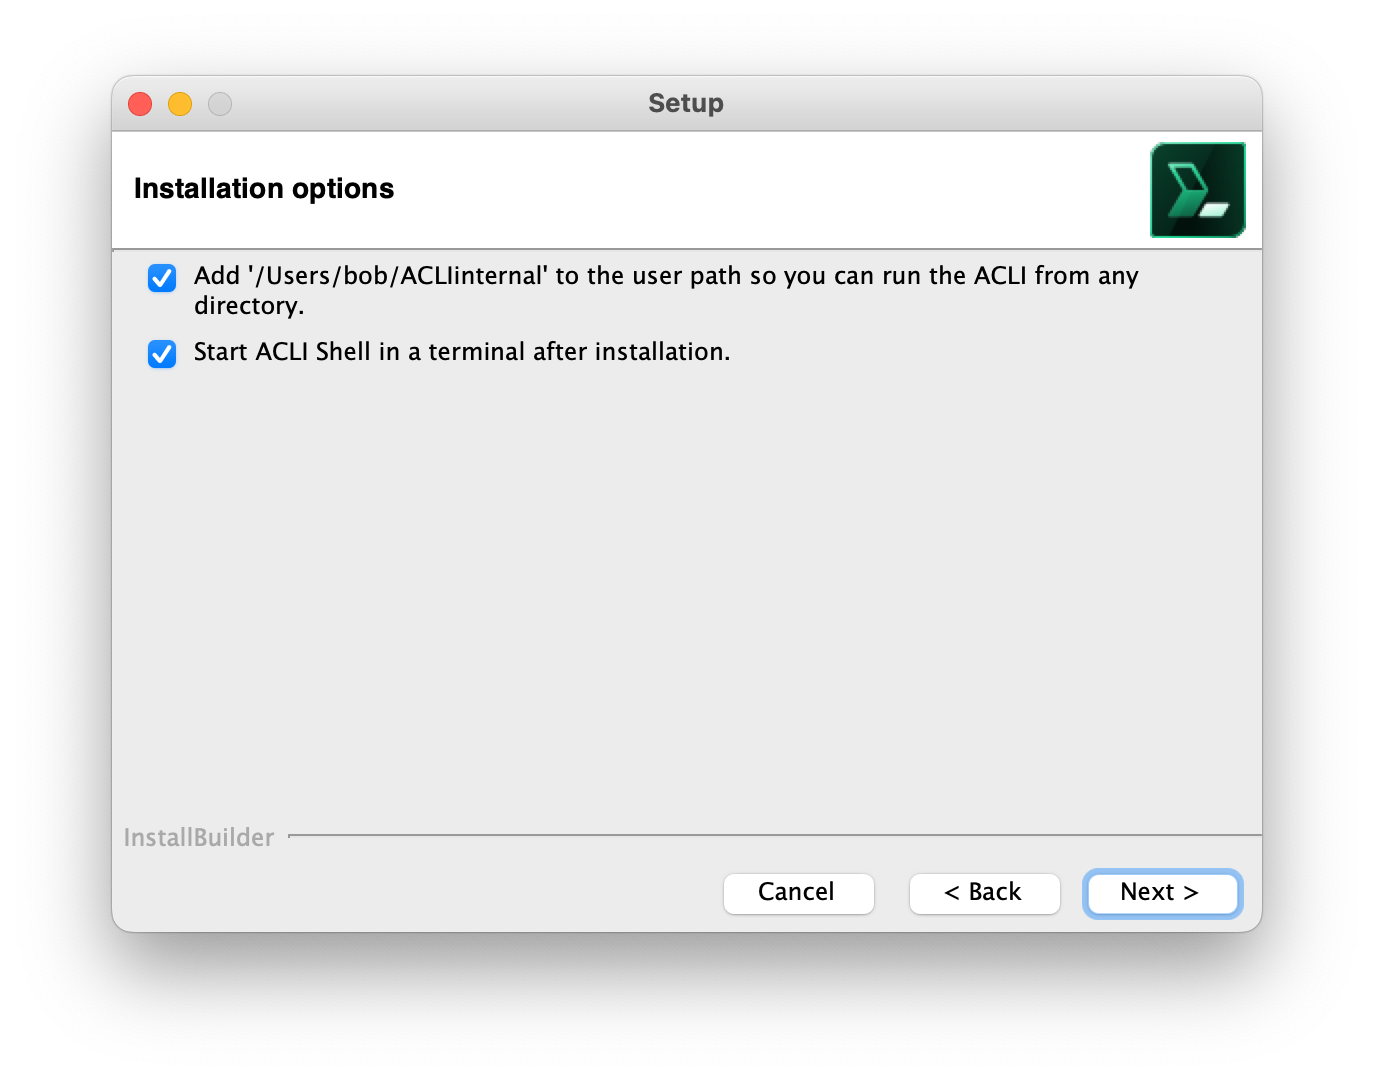
Installer now gives you some installation options including adding the installation directory to your path and whether or not have the installer automatically start the ACLI Shell. We recommend all users start and use the shell as it provides the best user experience and is especially helpful for new users. ACLI Shell will help you configure access to your applications and make it easier to discover and learn the ACLI.
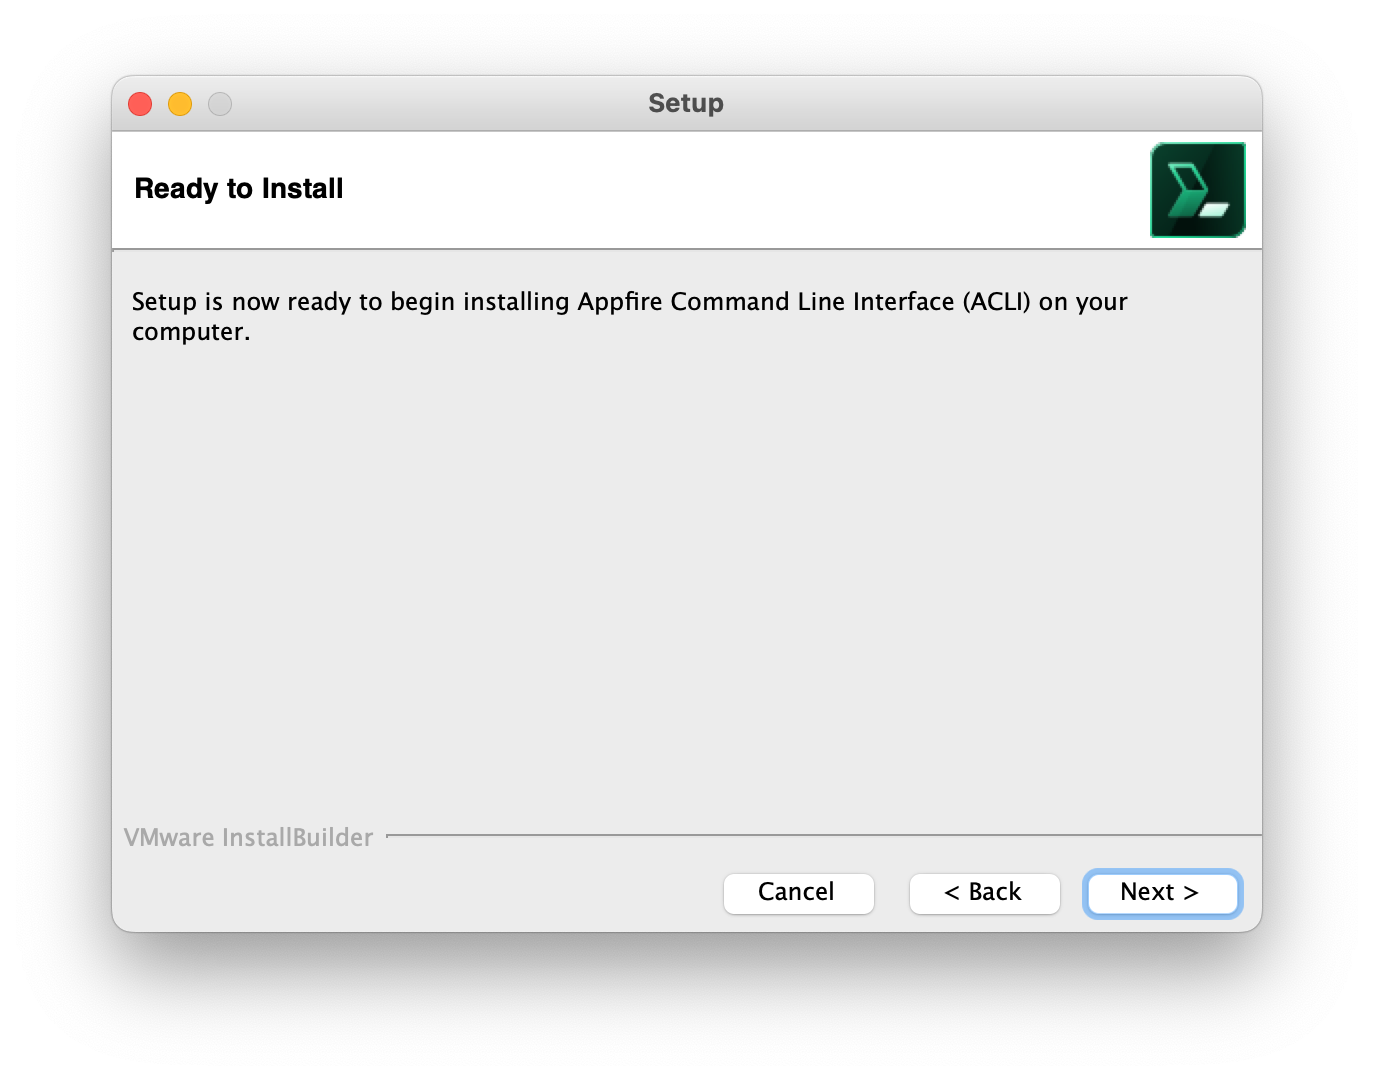
The installer is now to ready to install the ACLI and apply your configuration preferences. Click “Next”.
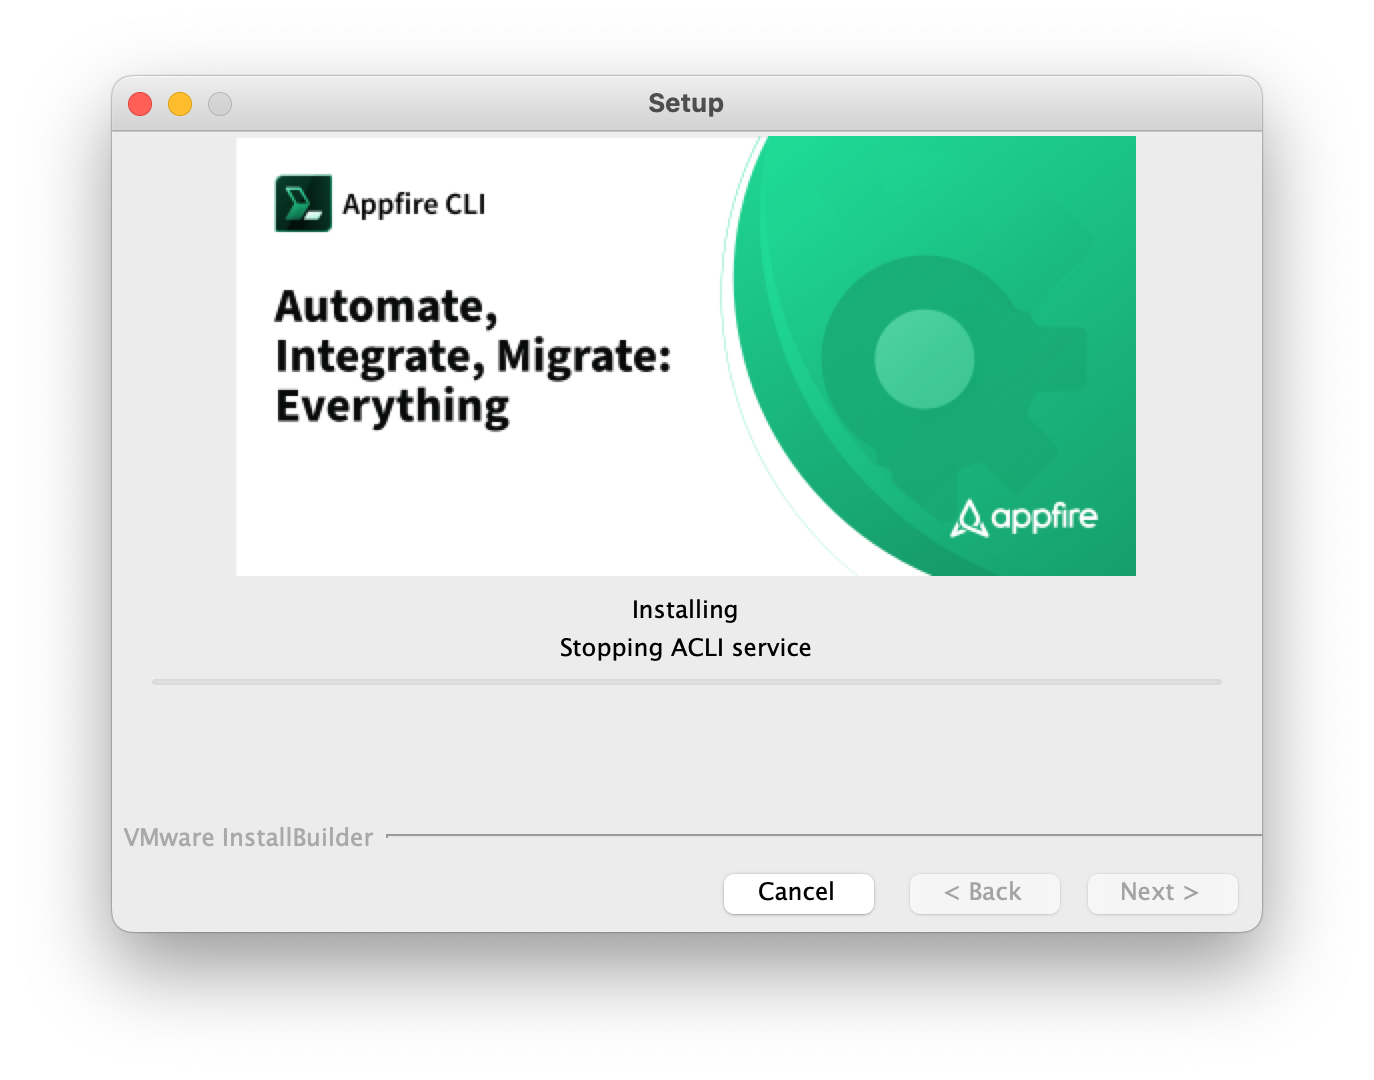
The Installer will show progress of the installation process.
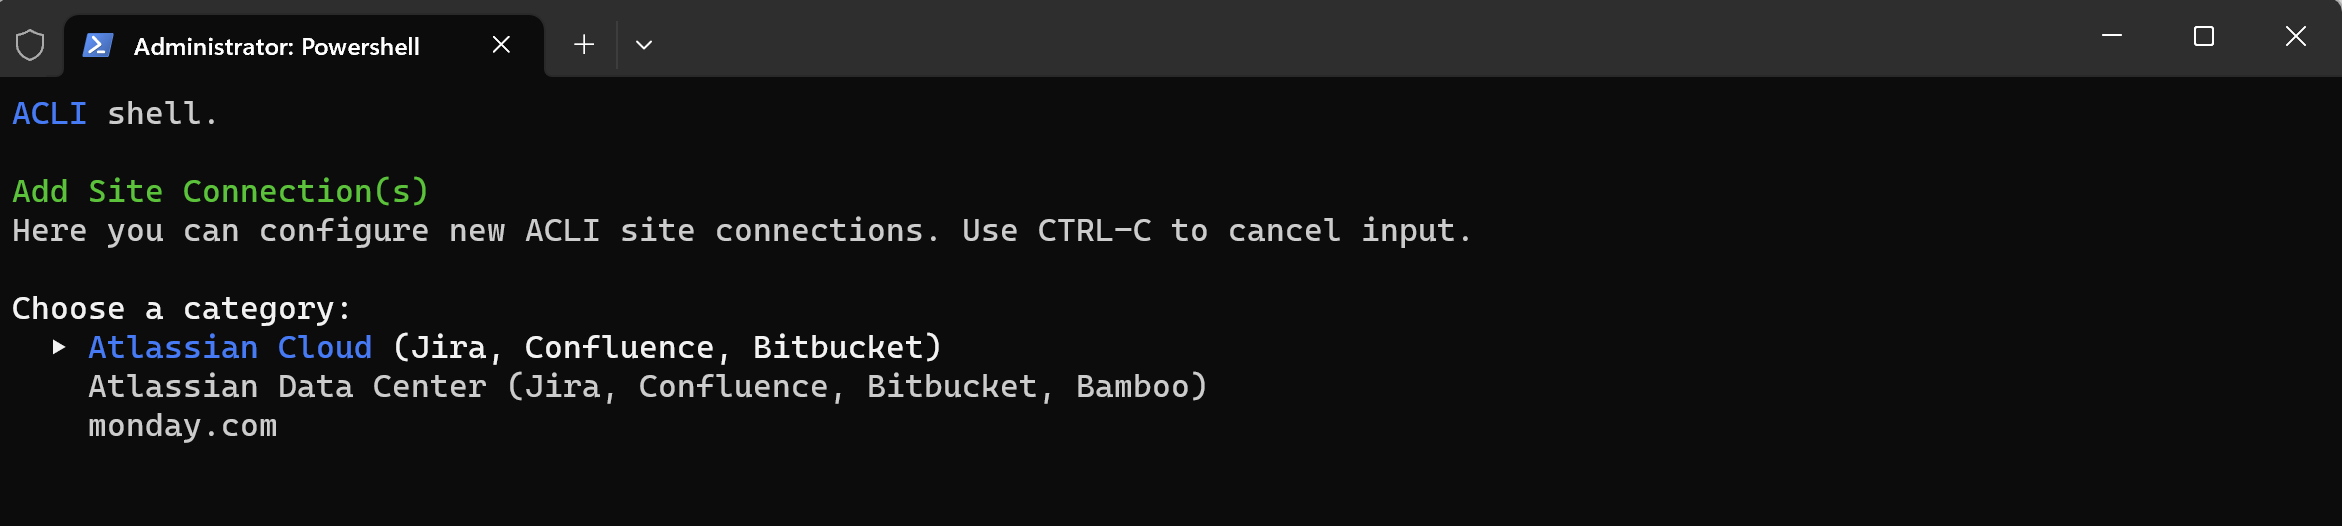
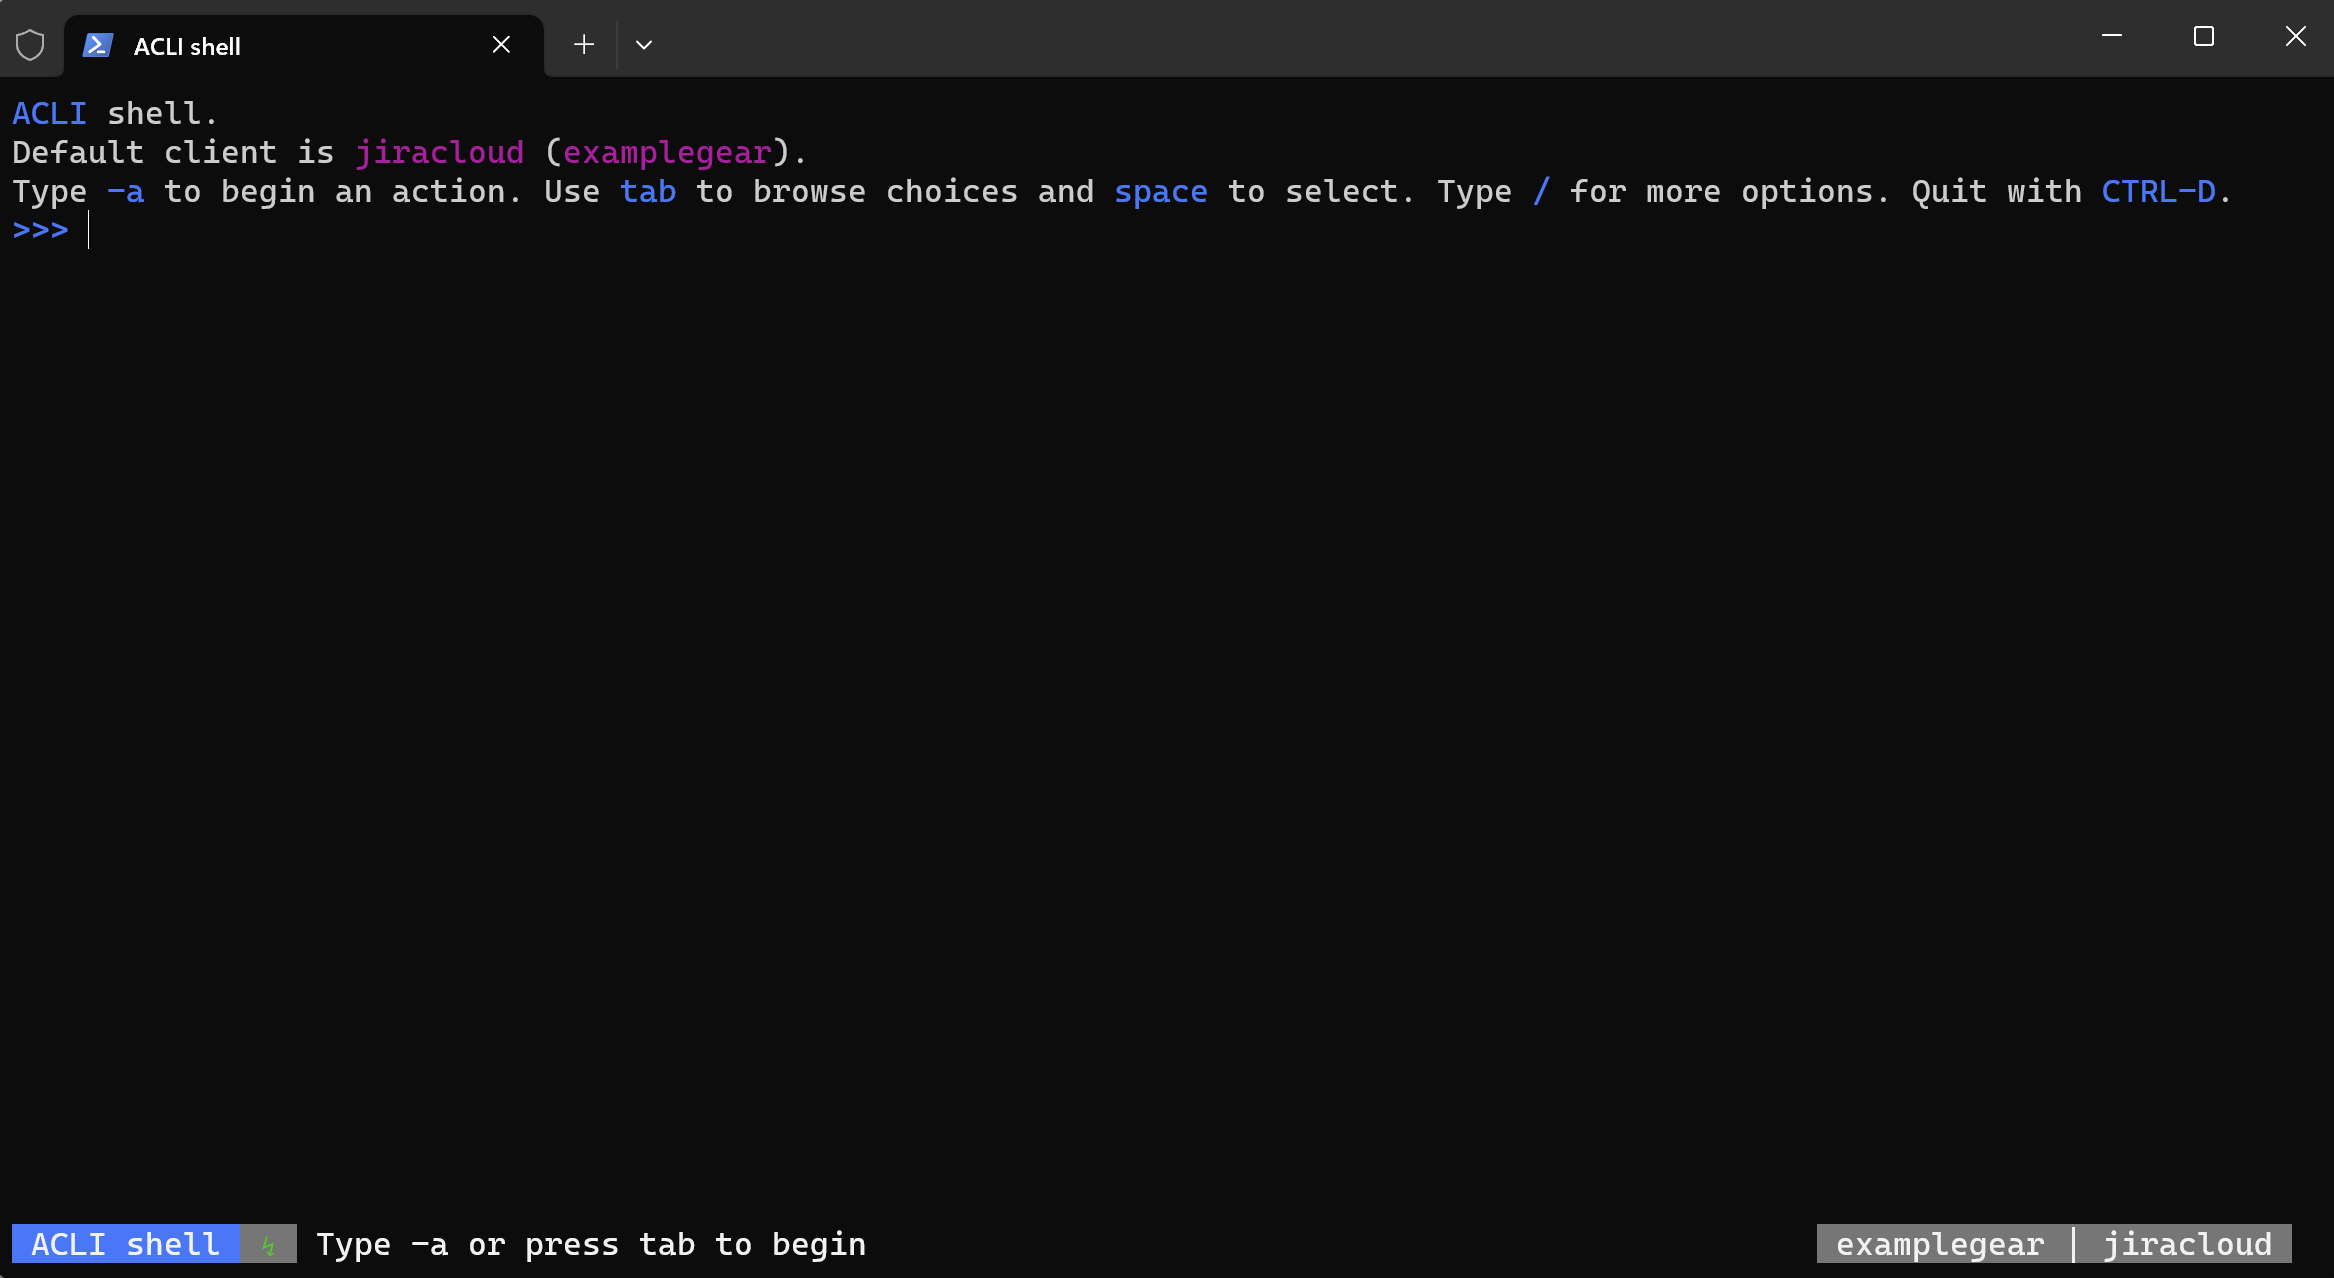
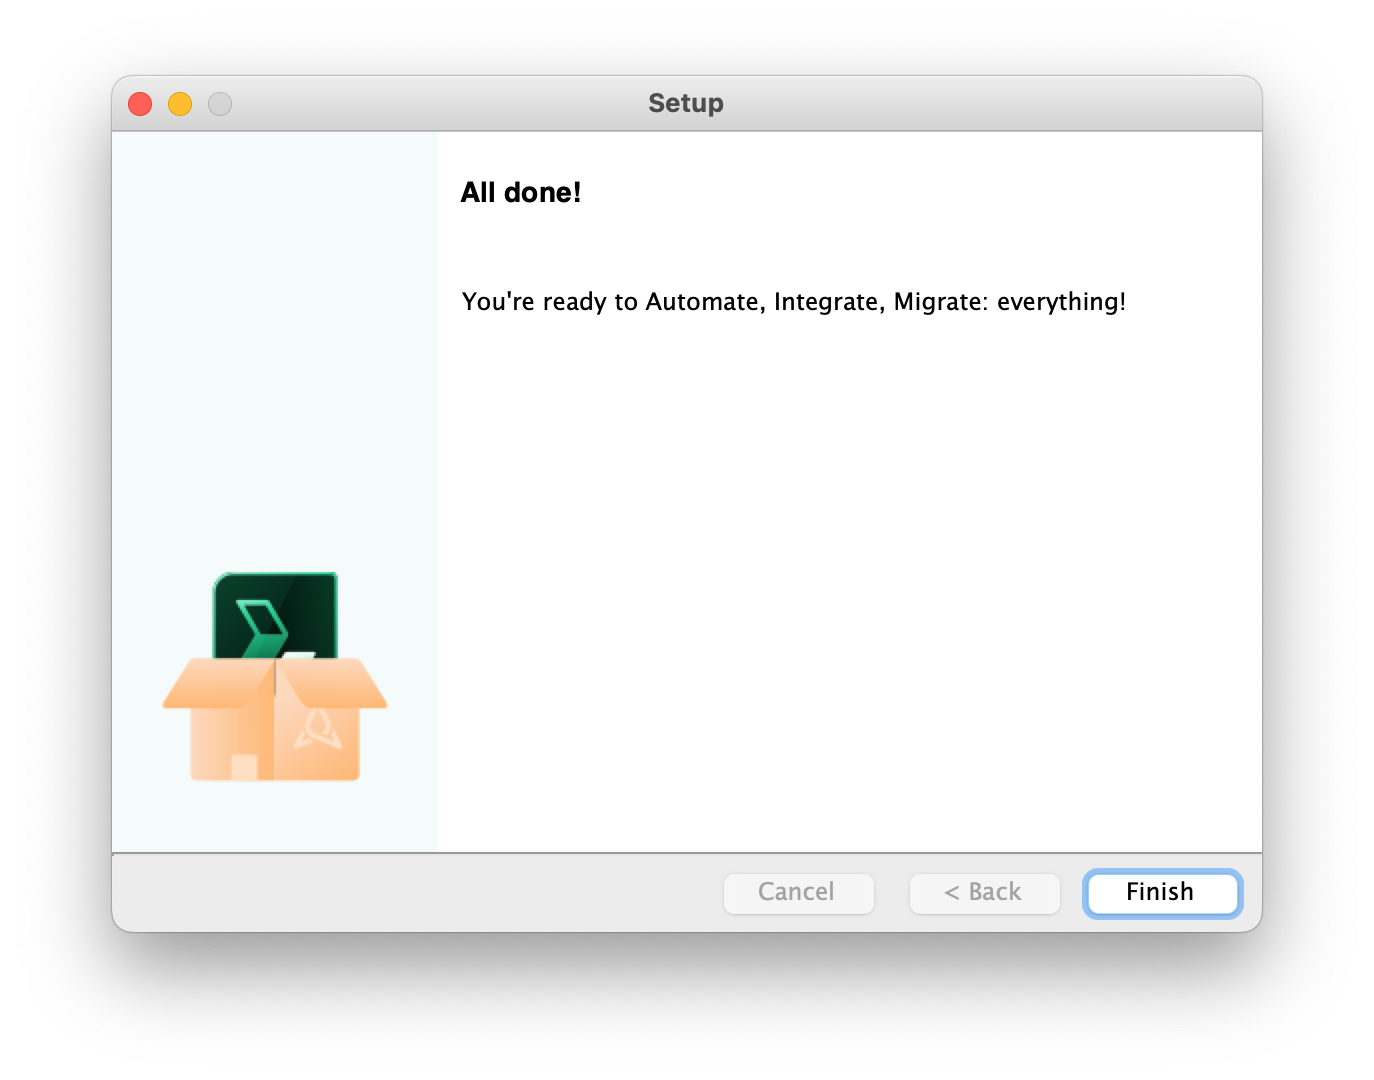
Once concluded, an independent terminal window should open running the ACLI Shell (provided that configuration option was checked on initial installer options screen mentioned above). Also, the installer completion dialog will be shown - press “Finish” to complete the installation process. The ACLI Shell terminal will remain open. For new installs or re-installs, the ACLI Shell will open and start a configuration setup dialog to walk you through adding one or more site configurations. Upgrade installs will take you directly to the standard ACLI Shell interface initialized to your last used site.
You can also launch the ACLI manually:
From the Desktop shortcut or Start menu in Windows
The Launchpad on MacOS.
The console command: acli in Windows, MacOS, and Linux.
Previous versions

Log a request with our support team.
Confluence®, Jira®, Atlassian Bamboo®, Bitbucket®, Fisheye®, and Atlassian Crucible® are registered trademarks of Atlassian®
Copyright © 2005 - 2024 Appfire | All rights reserved. Appfire™, the 'Apps for makers™' slogan and Bob Swift Atlassian Apps™ are all trademarks of Appfire Technologies, LLC.